Click Here For Free Blog Backgrounds!!!
Blogaholic Designs

Monday, June 2, 2014

Elsa Cape

I did a craft exchange with a friend - she crocheted Elsa and Anna hats for my nieces, and I made an Elsa cape for her daughter. I used felt for around the neck, and glued some snowflakes with rhinestones around it. It's so fun making girly things!


Thursday, April 24, 2014

Tool Party

For E's third birthday we went with a tool theme. I found the cutest little hammers at Harbor Freight Tools for each kid. They also got aprons from Home Depot. I also found these cute kits at WalMart to put together little cars and trains. We also played pin the nail on the hammer. Then we had hot dogs for lunch. My friends made the cute toolbox cake - it was so yummy! I also made his cardboard number to use as decoration just like his other parties. They're going to hang on his wall in his room!


3-Year-Old Shirt

Here's the shirt I made for E's third birthday. I love doing these. I know one year he'll be old enough to object!

Thursday, March 6, 2014

Playroom Rules Sign

I saw this idea on pinterest and I really wanted to make it for my dear friend who watches my kids and her grandson. I had all the supplies except for the little frame for the photo. I looked at many versions on pinterest, and then checked out my cricut cartridges and worked up a practice version with paper. Another friend took the adorable picture, and I absolutely love how it turned out.  I couldn't even wait for the glue to dry before I gave it to her! The most challenging part was determining the size and font for the rules... it took a while.

Practice Copy
Finished Version
Photo that inspired the project! :)

Tuesday, February 18, 2014

Valentine's Day (Part 2)

Here are the rest of the fun valentines E got in his box. They're all his favorite things...

Robot coloring valentine
Love bug - the bug grows in water. A LOT.


Dinosaurs
Curious George, his favorite show. He calls it "Monkey George"
Lion - he also loves Lion King
This was one of his favorites. He's been looking for pennies everywhere!
What could be more perfect than a Hippie Van toy that says "love" on it for Valentine's Day!?
I actually made these for my students, but E loves minions so he got one too!

Valentine's Day

I may have gone a bit overboard on Valentine's Day for Emmett. Especially considering the fact that my husband and I always agree not to celebrate it. I blame it on working Mommy guilt. I may have overdone it, but the look on Emmett's face every time he checked his valentine box was totally worth it. I spent less than $10 on the whole holiday!

Truck Valentine Box

Emmett would check every few hours for new surprises.
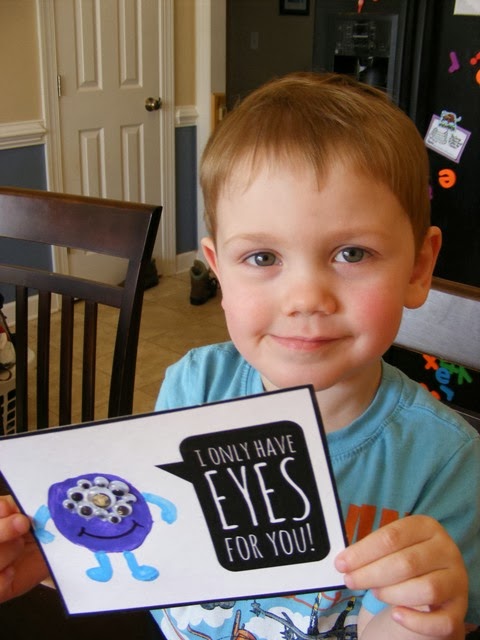
One of my favorites was making a monster. The supplies were in his box and he said "We're gonna PAINT!"
He loved gluing all the eyes on the monster.

Worth it!
See the rest of the valentine surprises in part 2!

Bookshelf Wall Hanging

I saw this idea on Pinterest quite a while ago, and the project really appealed to me. Combining two of my favorite hobbies - reading and sewing. Count me in! Then, I decided to take it up a nerdy notch and decided to find fabrics that in some way represent my favorite books. So, I spent way too much time in fabric stores and online looking for the perfect fabrics for my books. This was really hard. We have had a ton of snow days in January, so I decided it was time to get it done. The strips for the books had been cut months ago.

I'm really proud of this project for a few reasons:
1. It's something I made just for me, and I really enjoyed every step. Especially choosing the fabrics.
2. It's the most technical project I've ever done, and I think it came out pretty darn good. All those straight lines killed me. Perfect? Not even close. But I'm proud.
3. I took some "me time" to get it done. I didn't worry about cleaning and stuff for a few days, but it was worth it to get my creativity fix.

Can you guess the books? I'll put a picture of the real books at the end of the post. I found the tutorial for the project HERE. I didn't want to do my quilting this way, so I looked on Pinterest again and found an idea HERE.

First attempt at adding the shelf - too thin and crooked.
Found a quicker way to do the quilting via pinterest!
Finished project - It looks more crooked than it really is, I swear!
Finished back - I put a wooden dowel in the pockets to hang it.
The books - in order.